1. ESP32-CAM 준비
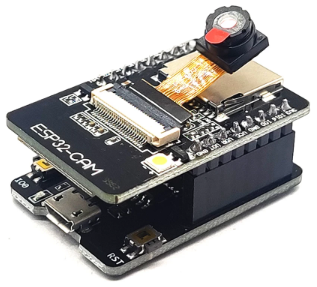
https://smartstore.naver.com/misoparts/products/5637074538
ESP32 CAM OV2640 카메라 4M PSRAM 장착 기판추가 : 알파마이크로
[알파마이크로] 빠른배송 전자부품전문몰. 아두이노, 라즈베리파이, 모듈, 키트 등 전자부품 최저가 판매
smartstore.naver.com
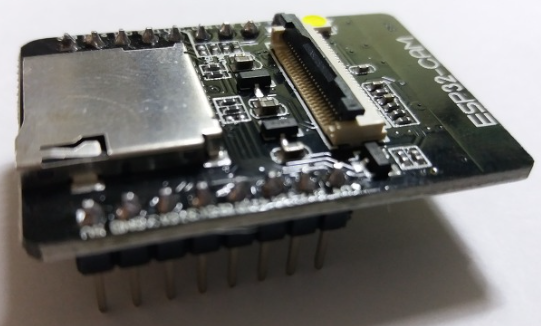
카메라 연결 시 아래와 같이 latch 를 들어 올려야 함
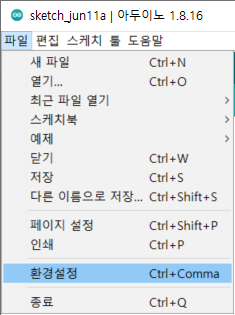
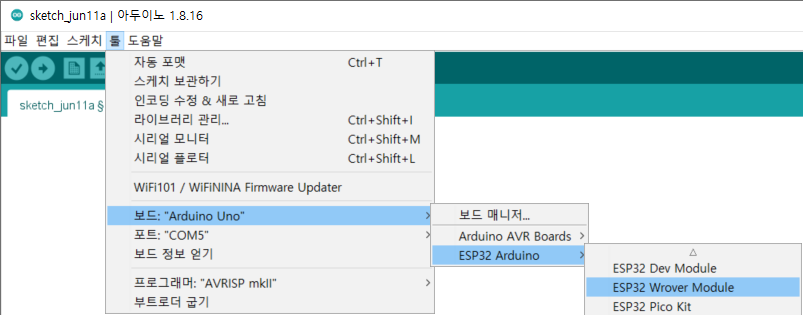
2. 보드 매니저 설정
1) 파일 - 환경설정
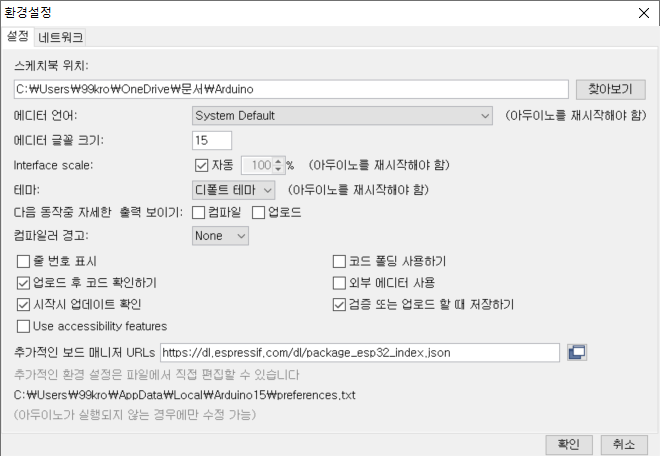
2) 추가적인 보드 매니저 URLs 에 URL 추가 후 확인
https://dl.espressif.com/dl/package_esp32_index.json
3) 툴 - 보드 - 보드 매니저...

4) esp32 설치

3. ESP32-CAM 예제 실행
1) 툴 - 보드 - ESP32 Arduino - ESP32 Wrover Module 선택
2) 툴 - Partition Scheme - Hugh APP (3MB No OTA/1MB SPIFFS) 선택

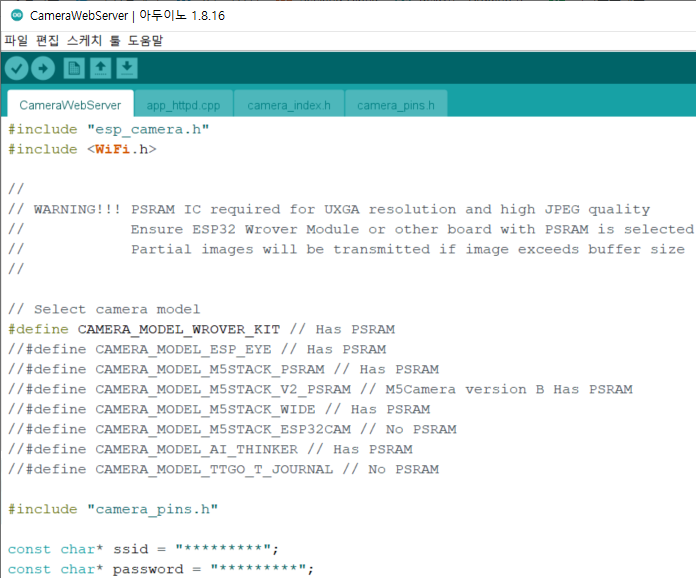
3) 파일 - 예제 - ESP32 - Camera - CameraWebServer 선택

4) 코드 수정
CAMERA_MODEL_WROVER_KIT 주석 처리
CAMERA_MODEL_AI_THINKER 주석 제거
ssid, password 설정

6) 확인 및 업로드
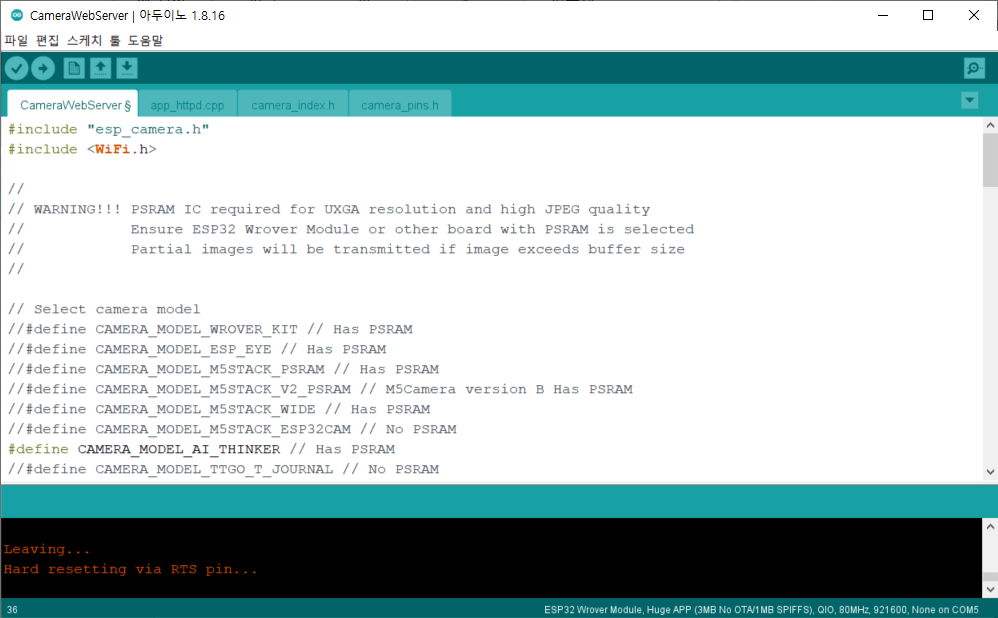
7) 업로드 후 아래와 같이 Camera Ready! 표시됨

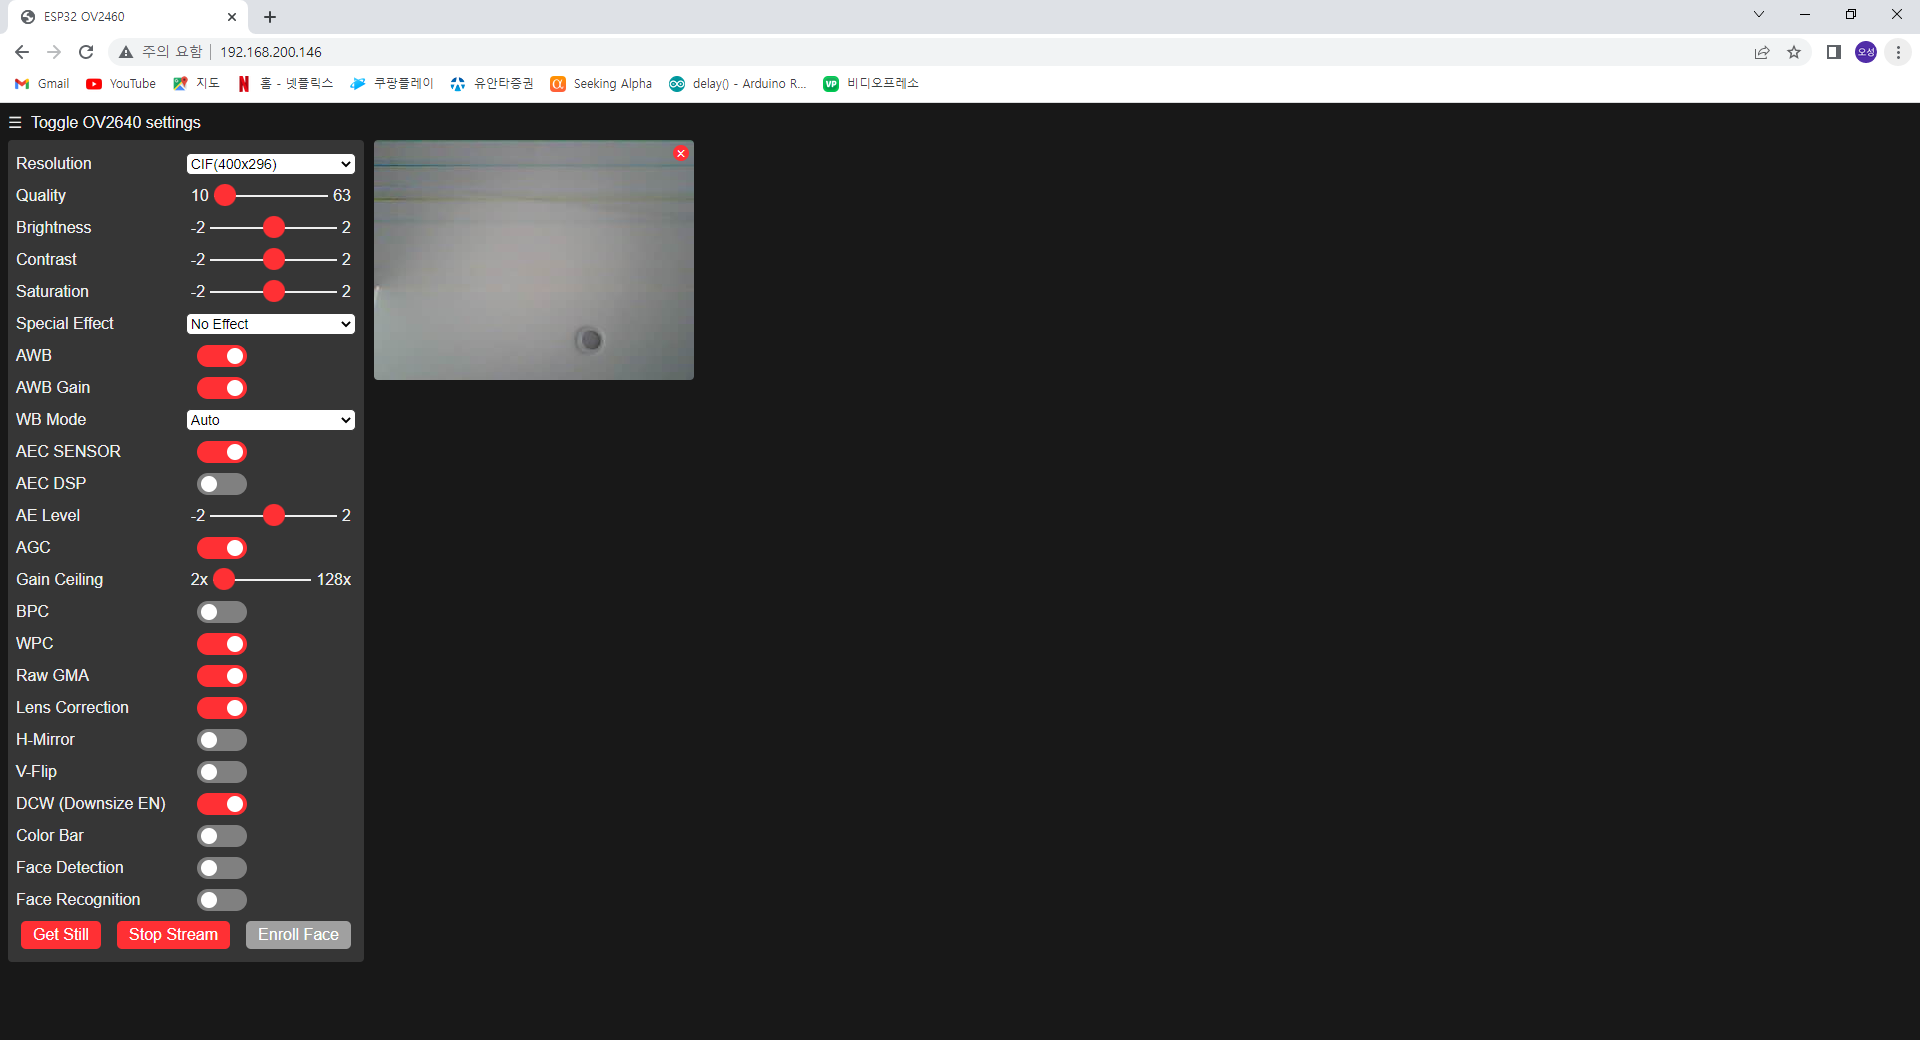
4. 브라우저 접속
1) 브라우저 실행 후 http://192.168.200.146 접속

2) Start Stream 버튼을 누르면 카메라 영상 표시됨
5. 기타
esp_camera.h 파일 위치

'Study > Arduino' 카테고리의 다른 글
| [Arduino] OLED Display (0) | 2022.07.10 |
|---|---|
| [Arduino] Arduino-Arduino UART Communication (0) | 2022.07.10 |
| [Arduino] ESP32-CAM OpenCV (0) | 2022.07.10 |


